We all know it's a mess when you have multiple developers and we want them to work on same App to save business hours and increase productivity. When someone is editing a PowerApps and you want other developer to work simultaneously we know it's not possible by default.
Since Microsoft introduced Co-Authoring feature in Canvas Apps I have been thinking can't we leverage it to do something about multiple developers working together on same App.
I have actually found a way to make it true!! Yes you heard it right now we can enable multiple developers.
The answer is "Co-Authoring in Power Apps with Azure DevOps Integration".
Now, we can integrate Azure DevOps with Power Apps Canvas App by leveraging GitHub Integration in Power Apps Studio. We will talk in detail about how we can work with multiple developers for a large Power Apps Canvas App Project. I will try to explain the procedure in the simplest way possible. So, stay tuned till the end.
Let's get started...
- Let's first create a new Canvas App or we can use existing app. I'm using existing app here.
2. Go to the settings and enable Git version control as shown below.
3. Once Git Version control is enabled you will find a tab on left plane.
4. Now when you go to that tab select the connect button and Connect to GitHub repo window would appear.
5. We will get these from DevOps, so now let's go to Azure DevOps. (If you don't have an account already then you can start free and login)
6. Once you are in DevOps then click on New Project button on right side.
7. Now you can enter the name and description of the project, for the visibility you can keep it as private.
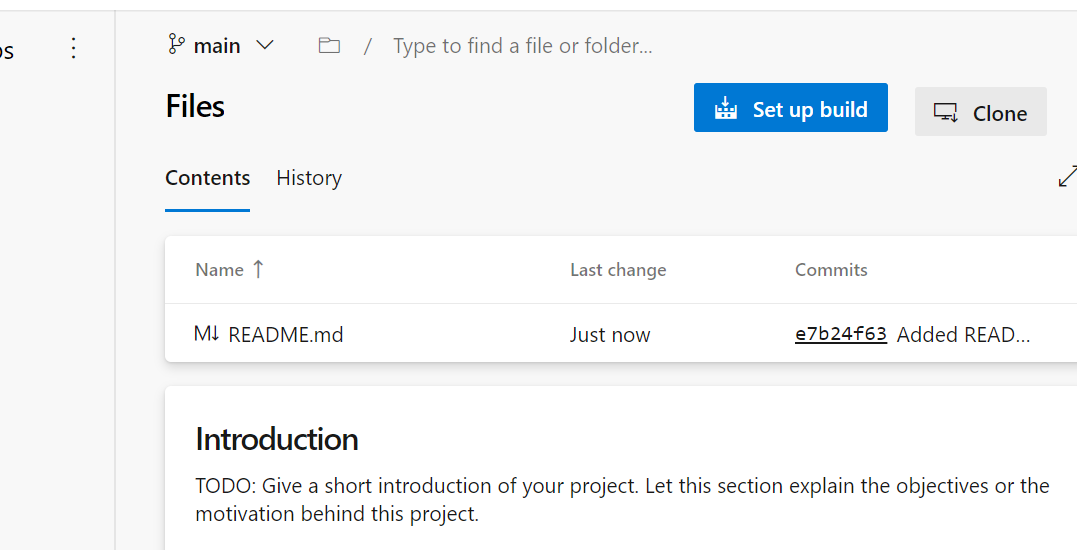
8. Once you have created the Project then click on Repo (repository) from the left plane.
9. Now copy the URL (you will need this later). As highlighted below.
10. We need to initialize a branch. We can do that, if we scroll down in same screen we will find
Initialize main branch with a README or gitignore. Click on Initialize and your branch is set.
11. Copy the name of the branch (default is gonna be "main").
12. Now we need to generate a Personal Access token for authentication. Select personal access token as shown. (Second last option). You can get this dropdown when you click on User setting on top right.
13. Click on New Token and then provide the name for the token and in the scope give full access.
Click on create.
14. Copy the token generated and save it somewhere since we would be needing it later to login.
15. Now let's go back to PowerApps.
16. Enter the URL that we saved earlier into Git repository URL, give the name of the branch. Directory name we can give anything since if it's a new directory it will ask you to create once you click apply.
17. Now save it and close the app and open it again in edit mode.
18. It will give a popup to sign into repository. Username is the email you used to sign in to DevOps and personal access token is what we saved earlier will now be used.
19. Now you should share the app with other developer giving them Co-author access. The can be done by going into File-->Share-->Select Co-author option.
20. You can see the Sync icon as shown. This is use to sync the changes that is done by different users.
21. One of the advantage that PowerApps gives you that if you are owner of the app and some other developer is Co-Author then the changes done by him would appear to you directly without any Sync since PowerApps perform SmartMerge. But if you are Co-Author you have to press Sync button in order for the changes done by other developers to appear.
That was quite long and took so much effort.
Thanks for staying!!!! till now, I tired to make it as interesting as possible.
Do let me know your thoughts in the comment section!!!!😝😋💭
Feel free to use the comment box once you try it out.


Comments
Post a Comment
If you got any doubts, Kindly let me know.